Saturday, July 28, 2012

Canning 101: Blueberry Jam

The canning workshop today went really well! We covered a lot, and ran long, which I felt bad about. Overall though, interested folks got to learn how to can, and participate in the process, which I think is really important!

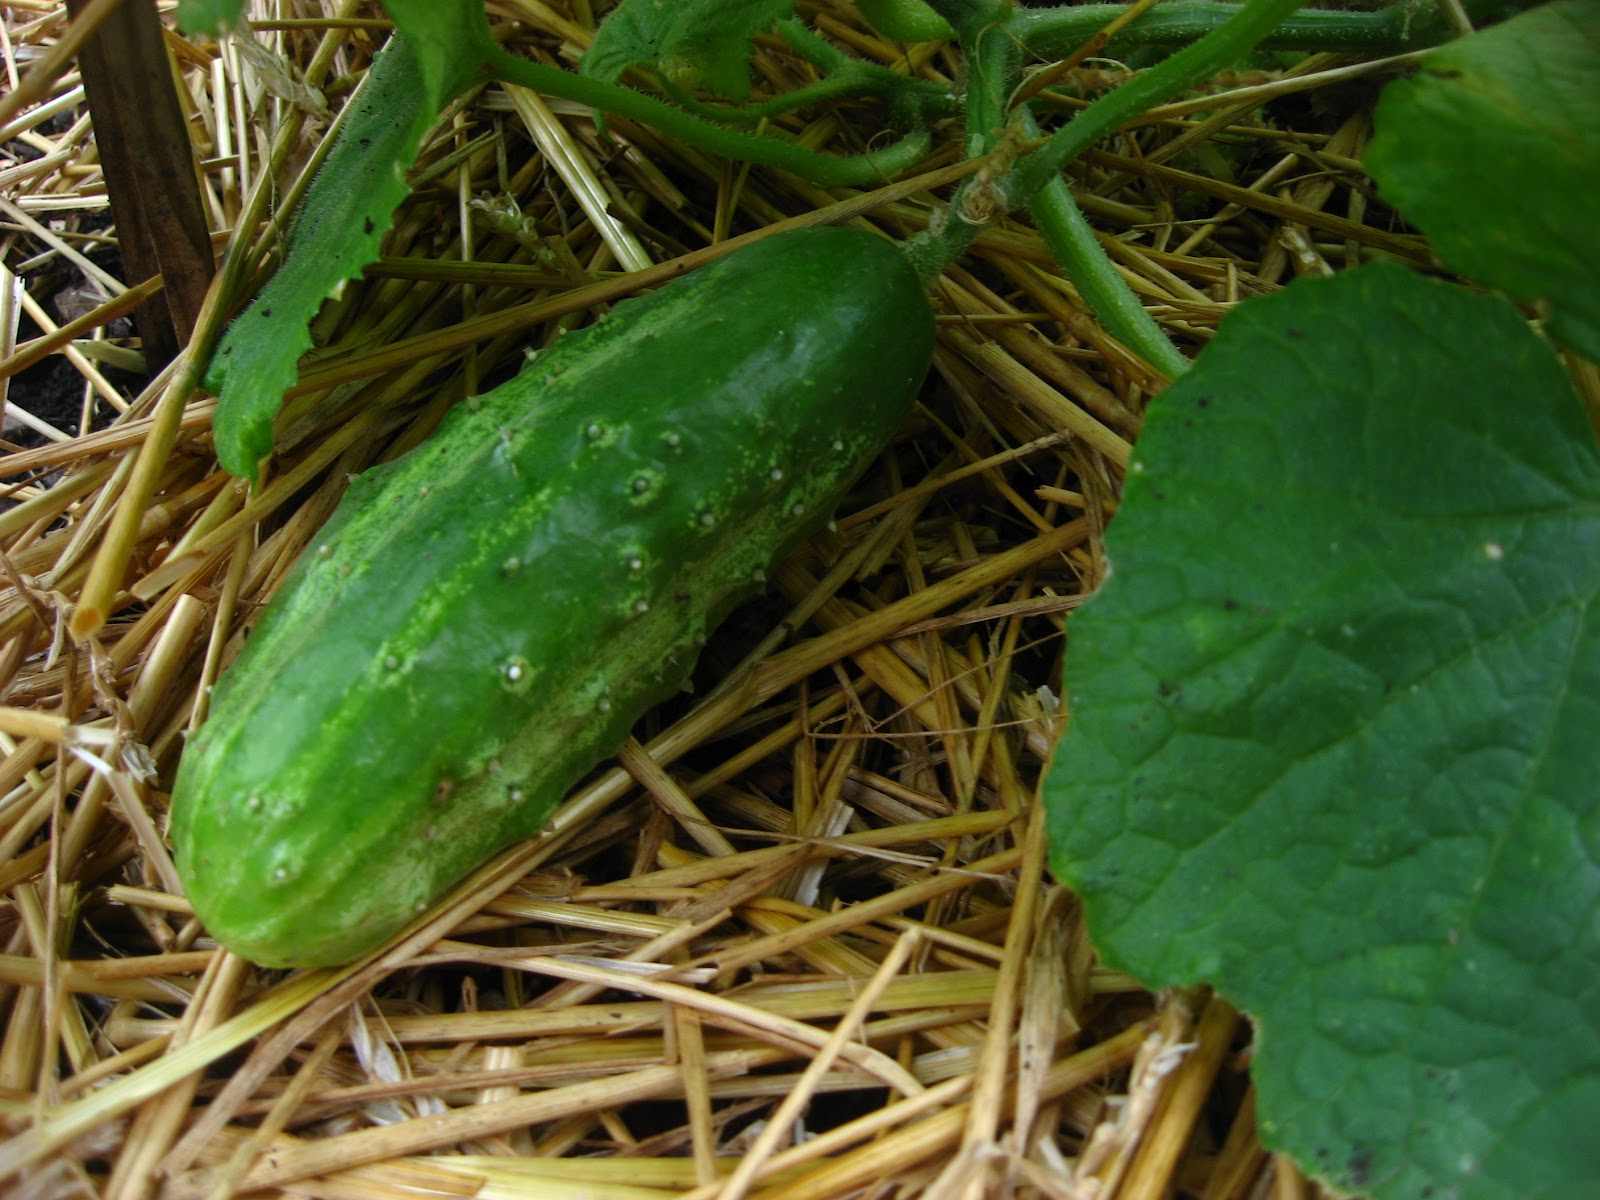
We also talked over techniques on freezing and drying fruits and vegetables, and everyone left with some handouts that I think will be helpful reference in the future.

As I suggested to the class participants, if you're going to can more than once, I suggest you purchase a canning recipe/instruction manual, like the Ball Blue Book of Canning. It's kind of like having a bible or religious book to reference, vs. copying some pages or passages out of said book. The passages are helpful, but if you want context and more guidance, having the actual book is really essential. Not a bad religious metaphore for a Jew(ish) agnostic, huh?  

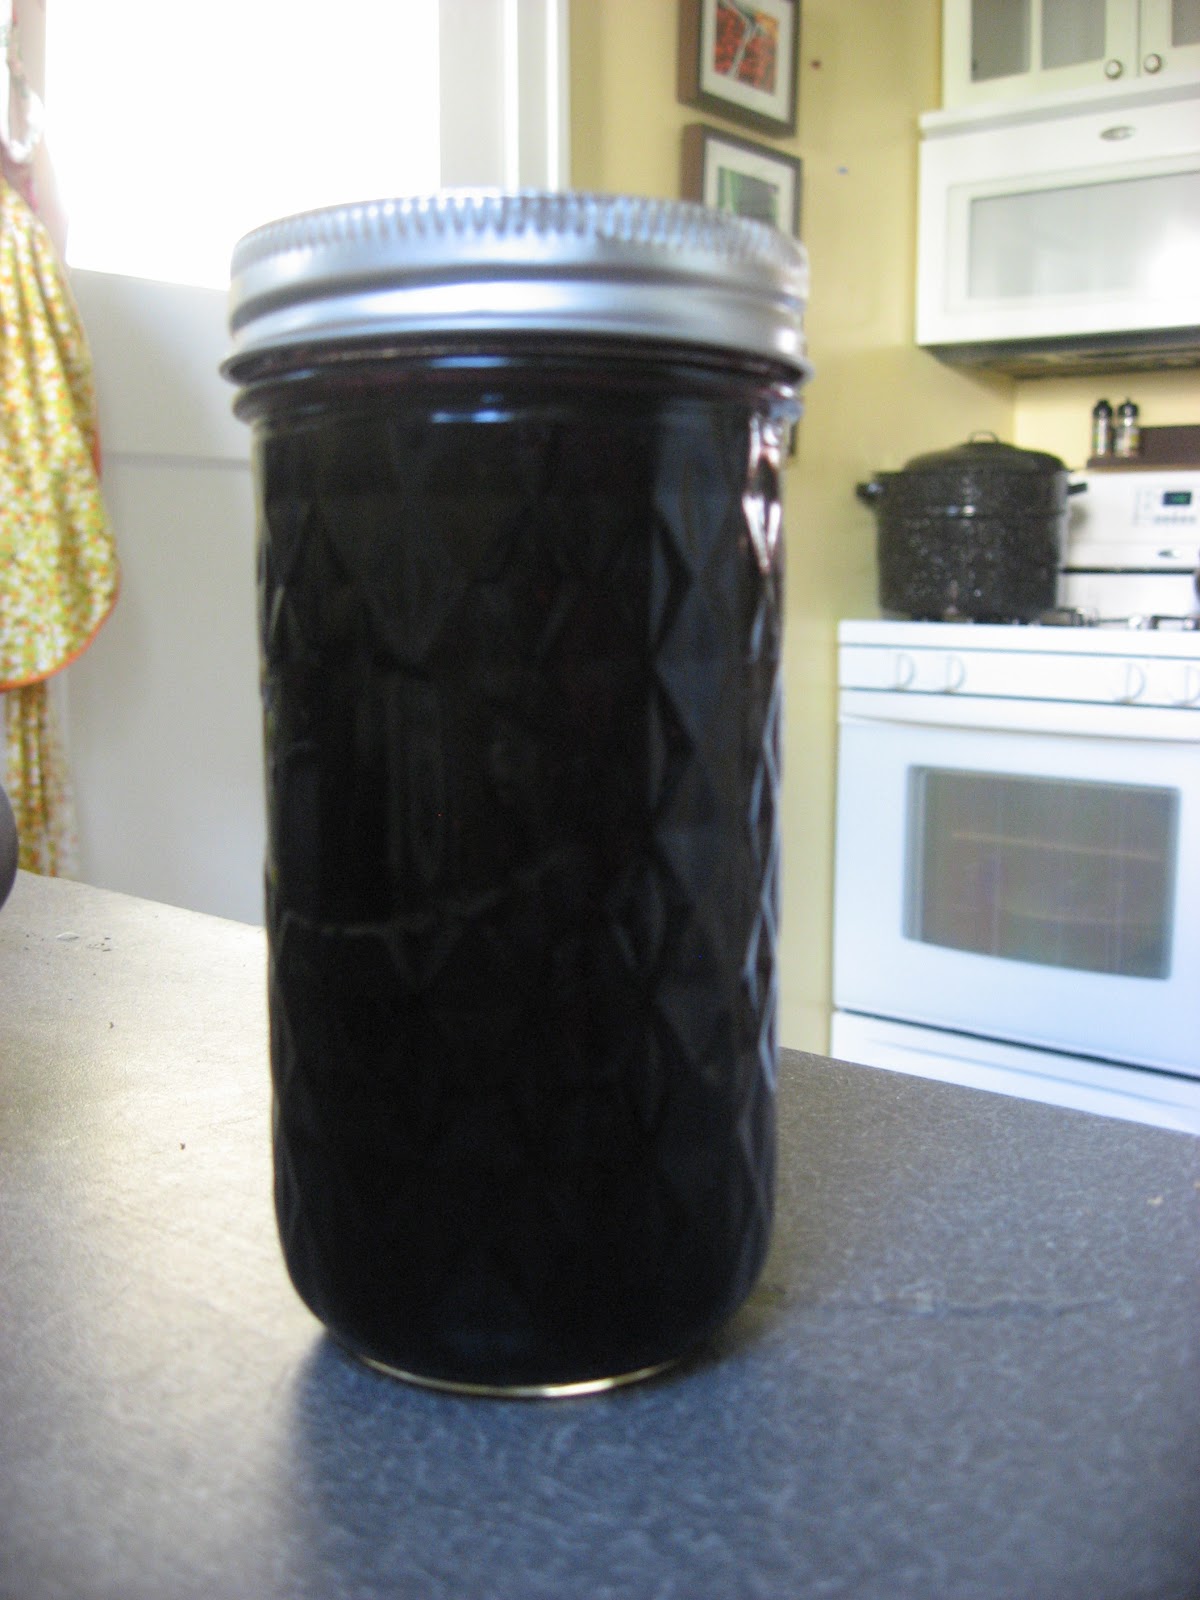
I chose to can the Berry Jam recipe from the Ball Blue Book of Canning. It's easy, simply, and straight-forward; a good jam for beginning canners.

If you're looking for a easy recipe to start your canning adventures with, here it is:

Berry Jam
Supplies needed:
a water bather canner (or a really large pot)
a rack to go inside the canning pot
canning jars- Ball and Kerr are two frequently-used brands
a set of jar lids & bands
canning tongs to grab the hot jars
a potato masher                                                                                 

9 cups crushed berries
6  cups sugar

Directions:
Combine berries and sugar in a large saucepot. Bring slowly to a boil, stirring until sugar disolves. Cook rapidly to gelling point. As mixture thickens, stir frequently to prevent sticking. Remove from heat. Ladle hot jam into hot jars, leaving 1/4 inch of headspace. Place the lid and the band on the top of the jar, and screw on. Process 15 minutes in a boiling water canner.


Then Ta-da!! Jam.

Friday, July 27, 2012

Drying & Saving Seeds for Future Planting

Earlier in the month I posted about drying veggies and herbs in the garden for later use. In a similar vein, it's fairly easy to dry lots of different seeds for planting next year if you know how to do it!

Over the past week, I've been starting to harvest and dry seeds from Bell peppers, Cantaloupe, and Kidney and Provider bush beans. I scoop out the seeds from the veggie of choice, rinse them off gently to clear them of all that inner-vegetable juice, and then I spread them out on a kitchen towel to dry for several days.

Make sure there is enough space between each seed so they can dry properly!


When they're dry to the touch, I gather up the seeds, make sure they're separated by type, and then place them in ziploc bags or 8 oz canning jars. Then, they get labeled with a permanent marker, and I store them in the refrigerator for next year! They seem to store quite well that way- I kept pepper seeds (in a plastic bag) and dried beans (in a glass jar) in the fridge over last season and those plants did very nicely this season!

If you're growing beans now and you'd like to save some for drying, here's a tip- let them dry outdoors right on the plant! This year, I planted about 20 kidney beans and 20 provider green beans, all for saving. I just let my bean plants grow throughout the spring and summer- at a certain point they look optimal to harvest for green bean stage, and then they start to get fatter and puffier. Instead of harvesting then, I let about 3/4ths of my crop dry, cutting back on the water I give the plants and eventually not watering them at all.


When the bean pods are beige-white and quite dry to the touch (if you shake them, you should hear rattling inside), they're ready to harvest! Pull the pods from the plant, and you'll have a pile of dried bean pods, like the picture to the left.

Yesterday, I spent 20 relaxing minutes cracking open each pod, and collecting the 2 -5 beans that lay within each one. I ended up with about 100 kidney beans! It's not enough to store as beans for much of anything- really it would only be enough for 1 or 2 winter batches of chilli.

What I'm going to do instead is just save all the kidney beans, as I did last year. Next year, I'll plant all 100 of them in the garden, and have a really big harvest, enough to save as dried beans for future use!


Have you dried and saved any seeds from your garden?  


If so, what was the easiest to save or the most successful plant the next season?

Sunday, July 22, 2012

Silent Sunday

The tour went really well!

Peppers are very productive now-a-days

First yellow pear tomatoes

Happy Sunday :)

Friday, July 20, 2012

Friday Favorites

Among many other things that I am appreciating this Friday, I'm really liking how my canning-lid plant labels turned out! I think they catch my eye as I'm walking by, which was one of the things I was looking for in a plant label, and they were also totally re-purposed, which is great!

Here's some photos of my favorites. What do you think?


 Happy Friday!
What are some of your favorite thing this Friday morning?

Thursday, July 19, 2012

DIY Plant Labels out of Used Canning Lids


Since I am lucky enough to be featured on a local urban garden tour on Saturday, I have been spiffing things upon around the gardens here. Weed-pulling, plant staking- all those fun garden chores that seem to slip past me for weeks at a time! 

One of the projects I tackled today that I'd be meaning to get to for a while is plant labels! I looked at buying plastic or wooden labels, those awesome pinterest spoons, event popsicle sticks, but the idea of purchasing something new to label plants for 3 months just seems a bit wasteful. 


My mom was in town and we were brainstorming creative ways to re-use materials and also create plant labels are functional: Big enough to read, Eye-catching but not an eye-sore, and Tall enough so people don't have to squat down to see them! I'm pretty satisfied with what I ended up with, so I'll share the glory with you!


DIY- Canning Lid Plant Labels


Supplies needed:

Used (already canned-with) Wide Mouth jar lids 
2 pkgs. Floral Cloth Wire 
Duct Tape 
Permanent Marker

Seed Packets for reference 
the internet, to look up latin names if necessary

Directions: (This is real easy, friends!)
  • Sort through your seed packets and set out any that you planted in the garden this year on your table, essentially making a list.
  • Flip all the lids white-side up and make sure they are clean and blemish free
  • On the white-side of each lid write the plant type in large letters straight across the middle of the lid in permanent market
  • Write the variety across the top of the lid, in smaller-sized writing. I chose to add quotation marks too.
  • Write the latin name of the plant across the bottom of the lid, again in a smaller size
  • Once you are finished with the entire pile of lids, get out your floral wire
  • Bend each wire in half, leaving a sort of upside-down "U" shape at the top
  • Flip all your lids over, careful to set them down so the text is aligned and straight
  • Tape a bent floral wire piece to the back of each lid, and press the tape down around the wire so it's secure
Now label up those mystery plants!

Wednesday, July 18, 2012

What's up Wednesday + exciting news!

Cukes are getting big now- harvesting 1-2 each day!

Sungold tomatoes are ripening up nicely

I planted several acorn squash a few weeks ago, and they've established well despite the heat

Today's pre-dinner snack harvest :)

Also, in exciting news:

My garden is being featured on Tour de Fresh this year, my work's annual tour of urban gardens and healthy food systems! One of the tour stops had to drop out 2 weeks ago, and a nice co-worker suggested that I could fill in! I'm pretty geeked out about it, and I've been working hard in the garden all week to pretend like I have a higher standard of garden maintenance than I truly do. Mike has been helping a lot too, and he might even get to be a tour guide once or twice. If you're in the Metro Detroit area and you'd like to check out some amazing Ypsi Gardens and Food stops on Saturday, here's the info.

What's up in your Garden this week?

Sunday, July 15, 2012

Silent Sunday

"Live in each season as it passes: 
Breathe the air, 
drink the drink, 
taste the fruit, 
and resign yourself to the influences of each." 
- Henry David Thoreau


Happy Sunday :)

Friday, July 13, 2012

Friday Favorites

My favorite things about this Friday include:

Pollinators in my garden this morning

Tomato time!!!

Spacemaster cucumbers- you rock my world!

Local blueberries for breakfast

Happy Friday! What are some of your favorites today?

Thursday, July 12, 2012

Drying and Curing Veggies & Herbs from the Garden


There's lots of things growing in your garden right now (or waiting for you at the Farmers' Market) that you can dry and essentially preserve for use later on in the season. I personally think that is one of the most awesome aspects of growing your own- the ability to have a Winter's supply of some great thing you worked hard to grow! I know, I know- I'm a nerd. While I won't cover all of them in detail, and this isn't an exhaustive list, there's a lot to be saved from the garden come late summer/fall time!

Produce/Herbs that you can Store by Drying:
Almost any herb
Beans
Chamomile blossoms
Cilantro (into Coriander)
Garlic
Onions
Potatoes
Squash


Cilantro

When to Harvest:
You can simply let the plant flower. Little white flower clusters will form, which will soon form seeds. At first, these seeds will be green but then they will slowly dry from green to brown, then they will harden. 

How to Cure/Dry:
The nice thing about cilantro is it's very low-maintenance to dry. When the seeds are dry, you can just pull the whole plant out by the roots, and harvest the seeds from it. 

Long-term Storage:
Put seeds in a glass spice jar or air-tight plastic container. Grind into a powder as needed, and use in asian dishes (or any dishes, for that matter!)

Chamomile

When to Harvest:
The chamomile plant will produce little white flowers with yellow centers- they look sort of like daisies. Plants bloom in mid June-late July. When the petals begin to droop down, time to harvest! Pluck off the individual flower heads and new ones will grow.
How to Cure/Dry:
Spread flowers across on a dry surface in a warm, dry area for 72 hours.

Long-term Storage:
Store in a glass jar, a tin, or an air-tight plastic container. Put a tablespoon of blossoms into a tea bag for chamomile tea any time you desire!

Garlic
When to Harvest:
Garlic plants have corn-like stalks. When stalks start to turn yellow-brown with 5-6 green stalks remaining, it's time to harvest. Grab each plant firmly, near the base of where the plant meets the ground and pull.

How to Cure/Dry:
Garlic needs to cure (dry out) for a week + before it is stored permanently. If you don't have pest problems, harvest your garlic and simply lay it on top of the soil to dry, on your porch, or bring it in and lay it out in your mudroom.

Long-term Storage:
Once the stalks are completely brown and feel like parchment paper, you can cut them down to several inches in length. Garlic needs good air circulation in order to store well. I recommend a wicker basket, or if you only have a few heads of garlic, one of those ceramic garlic containers.


Onions
When to Harvest:
You can harvest onions then the tops/stalks have start to brown and droop towards the ground. (Or if you're impatient, whenever you want, as demonstrated in the picture) The longer you can be patient, the larger the bulbs will be. If you harvest them too early, just use them as a bulb and a green onion too!

How to Cure/Dry:
Lay onions flat out on paper or some other type of dry surface. Onions are like garlic in that they need to cure for several days for optimal storage.

Long-term Storage:
Again, like garlic, onions need good air circulation to prevent them from rotting during storage. A hanging wicker or mesh bag could work well for storage.

Best of luck as you try out some drying/curing at your own home.
I hope the tips are helpful!

Wednesday, July 11, 2012

What's Up Wednesday

Heirloom tomatoes are freaking gorgeous!


Whoa- onions are popping out of the ground! I'd better tuck them in.


Ole' Faithful a.k.a. kale


These Yolo Sweet peppers are cherry-sized right now , 
but getting bigger each day though.


If you are looking for a cucumber variety, 
Spacemaster are fairly compact and they are dang good.


I see some empty spots for more veggies, don't you?


What's Up in your Garden this week?

Tuesday, July 10, 2012

Tuesday Takehome + a Recipe


I haven't picked up my CSA share this week yet, but I DID shop at the Farmers' Market, of course.

I came home with:
2 quarts cherries
1 quarts blueberries
1 pint sungold cherry tomatoes
8 oz mozzarella cheese

Nom nom nom nom! I need to get out there and do some serious fruit picking for my canning plans. In the mean time, this amazing stuff will definitely do.


I've also been harvesting a good deal out of the garden lately. Here's a photo of yesterday's harvest- 3 leeks, and handful of Provider green beans, 7 Yukon Gold potatoes, 2 giant kale leaves, some sprigs of thyme, rosemary, and oregano, and a pinch of the first dried cilantro seeds of the summer (called corriander)!!

I'm patting myself on the back- I've been doing a good job of picking what I need for dinner each night, rather than harvesting a whole bunch just because I'm excited to see it all laid out. It's helped me get more time out of each crop I've grow.
I'm starting to have post-harvest holes in the garden- I'll need to fill those in with fall veggies! I've already planted some acorn squash as well as several cucumber plants and a watermelon, but it'll be time to seed carrots and spinach and fall greens before we know it.


I'm too inspired by fresh fruits and veggies to share a recipe today. My recipe for today is simply this-

  • Go find some locally grown veggies and fruits
  • Cut them up and prepare as minimally as possible
  • Eat :)
Here's a photo of my plans for dinner on the right.

What have you been harvesting out of your garden lately or enjoying most from your local Farmers' Market?

Sunday, July 8, 2012

Appreciating "place" at Sleeping Bear Dunes

I'm back from our annual trip to Sleeping Bear Dunes National Park, and I have some highlights to share!

Each year that we go, our trips to the Dunes have been a place to explore, get outside, and really immerse wrap ourselves in the concept of "place"- the sights, sounds, food, culture, and experiences of a certain locale.

As I have gotten deeper into gardening, seasonal eating, and conscientious consuming, this has also been a trip where I can really live my values.


This year I was accompanied by my parents, Mike, an aunt, and two young cousins. Being able to share our families' favorite place with others is a true pleasure.

Each year we have a few staples that we always try to hit, including the dune climb, time on the beach, dinner at Joe's Friendly Tavern in Empire, and a stop at Great Lakes Tea and Spice Co, based right in Glen Arbor!
Of course, we visited the Empire Dune Climb, and everyone made it up to the top! We didn't go all the way to the lake, but concuring that climb is usually a feature of our trip! We saw a few new sites too, including the Historical Farm Tour of Port Oneida and the Port Bestie Light House.


The west side of Michigan is known for its agricultural productiveness, and the entire state was hit hard this year, by a late-spring cold front that did a great deal of damage to much of our fruit crop. Michigan is  of blueberries, sweet cherries, apples, etc. a lot of which were nearly decimated this season. The effects of this were evident everywhere, from the lack of roadside cherry stands to the sign posted at Glen Arbor's Cherry Republic, where we made a stop.

We also made sure to purchase locally grown fruit when we found it- this year it felt even more important that it usually does. We stopped and bought local cherries, picked up raspberries and blueberries at the local grocery for snacks during our day trips, and even foraged some mulberries on the Farm Tour and raspeberries from our campgrounds.


Last year the site Mike and I camped at had several wild raspberry bushes around it and it was such a treat to find them! This year, I led my young cousins, 7 and 10, to show them were the raspberries could be found.

The kids evidently thought it was a pretty cool find- every morning and every evening they would go on a walk "to the raspberries" and back, and would bring back enough berries for everyone to have a few. I was proud of them- junior wild edbile foragers! :)
I made sure to emphasize that not all berries are edible and that you should only eat them if you're an adult you trust that can help identify berries and says they are safe to eat!


\


On the farm tour, we'd get out at each stop and look around- check out the old barns, look at the farm machienery. At the Port Oneida School stop I found a red mulberry tree towards the back of the school. My aunt went and got a used plastic container so we could collect some of the mulberries.

Later than day, when picking up our pizza in town, we wandered around the pizza place and found a black mulberry tree! My cousin Noah spotted it and pointed it out to us, and we took turns picking the berries. Some other pizza-awaiting kids wondered what we were doing, so we shared our find with them.

We ended up leading our own tour with the assistance of a Port Oneida booklet, and I narrated our journey as we visited many beautifully weather and sadly abandoned pieces of agricultural history. Here are a few photos:

The Dechow Farm
 
Carsten Burfiend Farm
 
The Charles Olsen Farm

 
A tractor at the Miller Barn