
Now that you have your materials, you might need to cut them to size. If you've gotten your boards from a hardware store, they will probably cut them for you for free. Once you've got 'em cut, bring 'em home- they're ready to assemble!
First, you need to make marks where your screws will go to attach the board to the shelves. For each shelf, start 3 inches in on the back board, and space your holes out (I used a spacing of 8 inches between screws). Mark where the holes should be on the board with a pencil, and then drill straight through the back board. I used a 1/8ths bit.
Once you've got your basic holes laid out, you can use a counter sink bit. This allows you to drill right over your existing hole on the back board, and drill a conical hole. The benefit of this is that the top of your screw will be flush with the board, and when you paint the final coat, you won't be able to see the screws, or at least they won't be as noticeable (see the pic below for a before countersink picture)Drill your woodscrews through the countersink holes, through the back board and into the shelves, one by one. I like to start by partially screwing in one screw on the left side, partially screwing in the middle screw, then partially screwing in the end screw; this way I can make small adjustments and I make sure everything is equally tight across the board (haha!).
Now you should have a flat back board with two shelves attached to it!
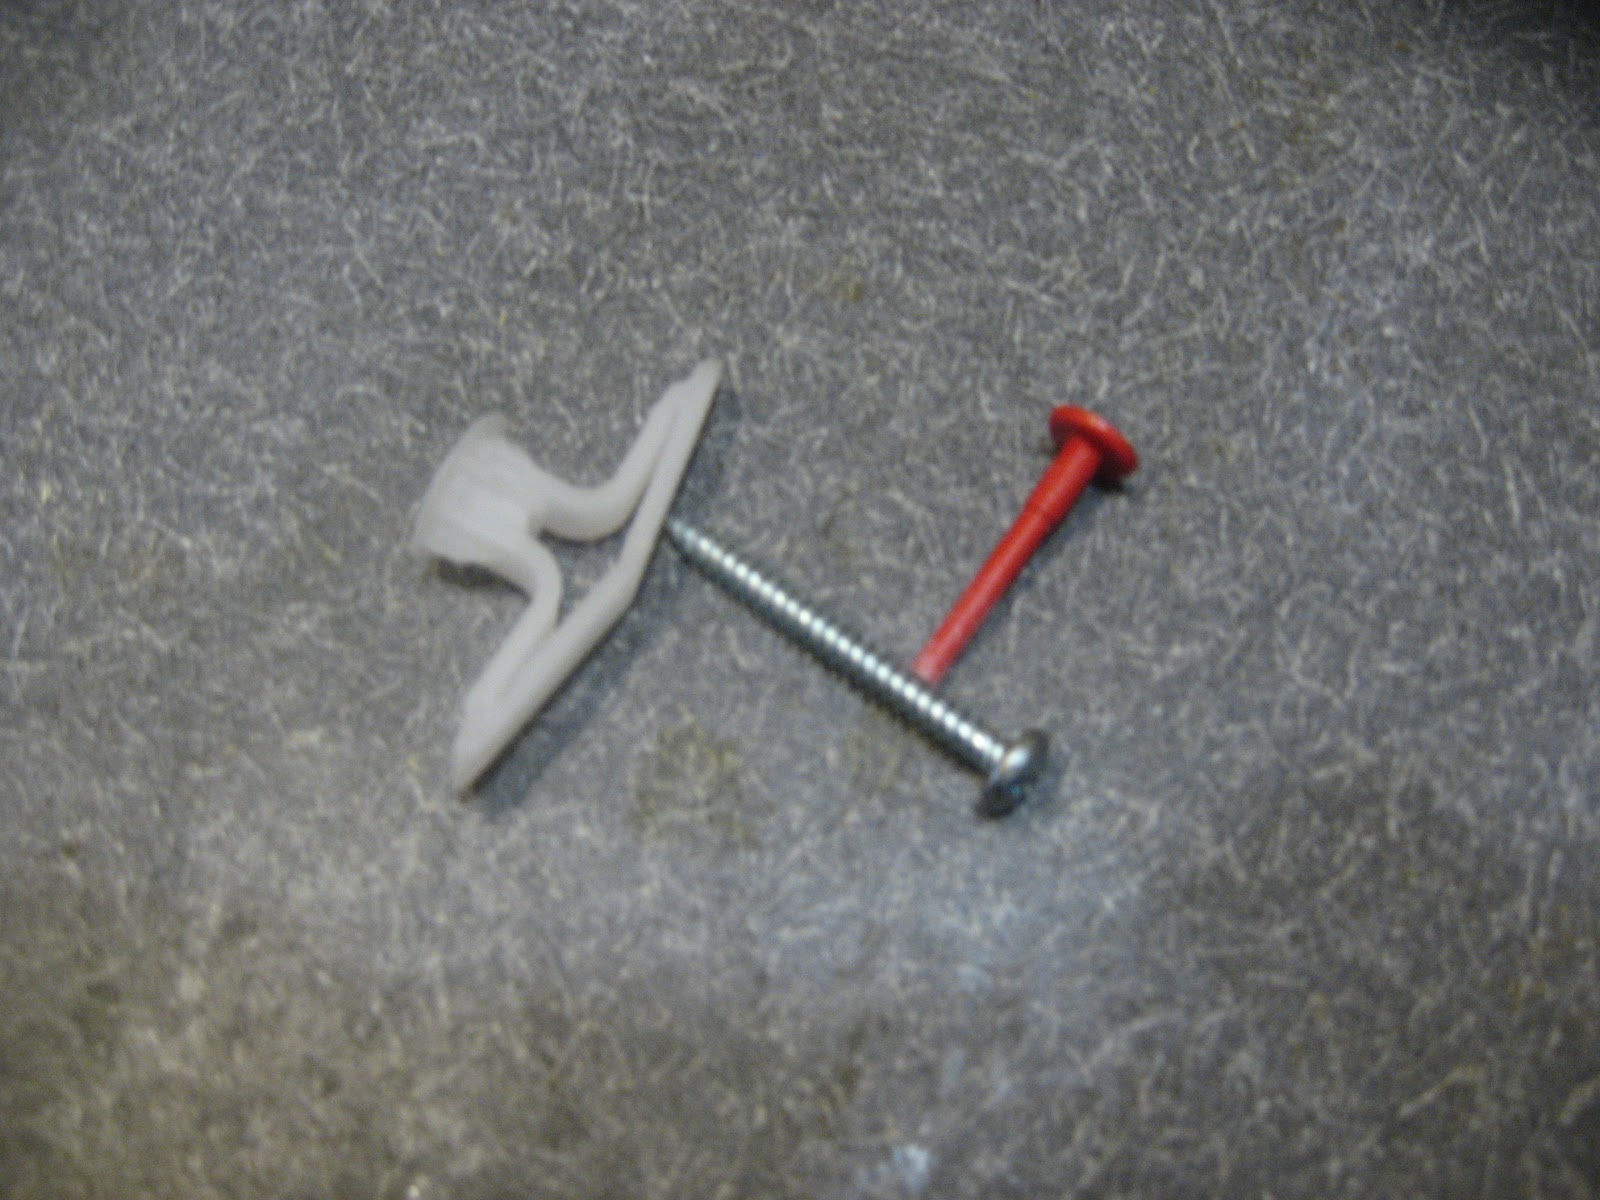 |
| mollie, screw, and the red piece |
- Paint it!
- Paint another coat on it!
- Let it dry for 6-10 hours (this is the hardest part for me!)
Last step is to measure out your last set of holes- the ones that will screw the hole spice rack into the wall. To do this, lay your spice rack on the table, face up (shelf side up). Take that pencil you had earlier, and mark out where your screws will go- again I'd go with starting 3 inches in and spacing every 8 inches, but it depends on what sized rack you're making.
 Once you've marked out the holes on the board, carefully and accurately mark them on the wall as well. Take your drill, put on a 5/64ths bit, and drill your wall holes. These holes will be bigger than those you drilled for the shelves- these holes are for the mollies.
Pinch the mollies and position them over the holes you've drilled, then tap them in withe a hammer. Once they're as flat to the wall as they can be, take the red piece, and put it into the hole on the mollie. You're pushing until the back of the mollie pops out into the wall.
 Now drill holes into your board with the 1/8ths inch bit, like you did for the shelves. You'll be drilling into the front this time. When you're done with those, you'll want to use the countersink (if you have one) to make those holes a better, conical shape.
 You're ready now to drill the screws through the backboard and into the wall (through the mollies). Make sure your board is lined up with the mollie holes correctly- this is a point where you might want a friend to help you hold the shelf up in place.
 If you did it right, a) your spice rack should be attached securely to the wall and b) you should have screwed the screws in really tight, and when you run your hand across the board where the screws are, they won't protrude higher than the board! If this is the case, you can use some wood putty and caulk over the holes. Let that dry, then you can paint over the caulking, and you'll have a nice, finished looking product!
 If you did it right, a) your spice rack should be attached securely to the wall and b) you should have screwed the screws in really tight, and when you run your hand across the board where the screws are, they won't protrude higher than the board! If this is the case, you can use some wood putty and caulk over the holes. Let that dry, then you can paint over the caulking, and you'll have a nice, finished looking product!
If you were like me, and your countersinking didn't get your screws at flat to the wall as you wanted- it's still ok- I'd recommed just painting over the screws, one or two coats. In the long run, you still have a nice spice rack with disgued, incognito screws. Go ahead and put those spice on there!
Nice Rack!
No comments:
Post a Comment