Showing posts with label preservation. Show all posts

Friday, August 24, 2012

2012 Local Eating Goals

Now that (I hate to say it) we've passed the middle point of summer, I am thinking about and preparing for Fall. This year, more than ever, I am trying to live in the moment and truly enjoy each day and revel in the season- the sweltering hot days, the strangely-cool days, and everything in between. 

However, part of appreciating these summer days is putting up some of my favorite fruits and vegetables for later on the in the year, and planting in preparation for fall. Every year I have a sort of mental list of Homestead-y things I'd like to accomplish- things to grow, things to can, things to freeze, things to dry and store through winter. I'm proud to say that this year, I have actually done some significant fall planting, and I've also done a pretty fair job at "putting up" or canning/preserving/storing & locally sourcing a good deal of the things that were on said mental list! 

I will say that I've give myself some exceptions- this list applies most to food that is eaten in my home. While eating out and about, I do try to have a strong focus on local food, supporting local businesses, and avoiding questionable meat (essentially, it's questionable unless I know where it's sourced from). BUT it's hard to find places to eat that meet all of my strict qualifications! So while I am an intentional eater at restaurants, I am my best locavore self at home, where I can better control what comes into my home, where it comes from, and what I spend our $$$ on.

As I have moved towards eating more and more locally, there is a natural shift towards eating things in the season they grow in. For example, when I say that I eat only local potatoes all year long, it is because I plant potatoes in the spring, I harvest them in the summer, and store them to eat throughout summer, fall, and into winter. Then I stop eating potatoes until I can find them locally again in the spring, or grow them myself once again!

With all that stuff in mind, here's an attempt at a typed version of my 2012 Local Eating Goals.

Happy Home 2012 Local Eating Goals
* crossed off= already preserved or ready to store

Veggies to store/source locally for the entire year-
(successfully achieved this part of the list last year!)
Onions
Potatoes
Sweet Potatoes
Acorn Squash
Carrots
Garlic (50 heads)


Other food products to source locally for the entire year-
Wheat
Bread
Bagels
Butter 
Milk 
Eggs
Meat products

Herbs to dry & store/grow indoors for the entire year-
Cilantro/Coriander
Basil
Thyme
Rosemary
Oregano
Sage

Locally grown veggies & fruits to Can-
6 pints Pickles
5 pints Tomato Sauce 
10 pints and 12 half-pints Corn
10 pints Green beans
25 half-pints Peaches
15 half-pints Pears
6 pints Apricots

3 pints Cranberry Sauce
15 half-pints Applesauce
3 pints Blueberry jam

Locally grown veggies & fruits to Freeze-
5 quarts Blueberries 
1 quart Cherries 
1 quart Raspberries
2 quarts Strawberries 

3 quarts Corn

Locally grown fruits to Dehydrate-
2 bags dried cranberries

If you'd like to set some local eating goals for yourself, I have a few tips:
  • Set some perimeters for yourself- be realistic about what you think you can do
  • Have strategies in mind- Where will you shop/how will you grow things to meet your goals?
  • Think it out- If you want to can 60 pints of tomatoes, when will that actually happen and do you truly have the time & resources to do that?
  • Pat yourself on the back, even if you don't accomplish everything you set out to! You're still making progress, and you'll have a better idea of how you can improve in future years.
What do you try to eat locally year round? 

Are there things that you think are more important to source locally than others?

Wednesday, August 22, 2012

What's Up Wednesday!

It's a little late, but here's what's up this week in my garden!! Lots of the Fall plantings are doing really well- I'm excited to see how they perform in the colder weather when it gets here. In the mean time, I am still enjoying lots of tomatoes, peppers, cukes, and the occasional onion!


Swiss chard! It's so pretty, and I don't like to eat it. I'll have to do a neighborhood trade, I suppose!

      A second round of sugar snap peas is establishing nicely
 

I'm now able to pick late-summer lettuce! :)

Will the pumpkins and zucchini grow big enough in time?

Last of the chamomile is blooming. 
This summer I've harvested about 2 half-pints for tea this winter!

 The mystery squash thing that I couldn't identify is a cantaloupe- What an awesome surprise!

The canning pantry is quickly filling. I've spent 5 or 6 evenings in the last month 
filling it up with goodies- canned corn and canned peaches just recently- yum! Time to set some canning and local eating goals for the season, I think!

What's up in your Garden this week? 

Wednesday, August 15, 2012

What's Up Wednesday

Laundry is up (literally)! I only recently discovered the joy that is line-dried laundry.
For me it falls into that 'retro and awesome' category, along with canning and apron-wearing.

The tomatoes I started in the spring that weren't doing well are now finally starting to ripen-
I guess I'll have a sort of staggered tomato season!

 My one lone sunflower this year, getting ready to bloom!

 Prize Choy! A new addition to the garden for Fall.

 'Parade' Bunching onions, and pumpkin plants in the background

 The canned goods shelf is starting to fill up!
Apricots, Blueberry jam, Raspberry jam, Corn, & Green beans!

Tell me- What's Up in your Garden this Week?

Thursday, August 2, 2012

Canning: Apricots in Light Syrup

Have you ever walked past some perfectly ripe fruit and been seized by the urge to can it up? I was seized by that very feeling today, and I went on a canning binge! I was passing by some ripe, juicy-looking apricots and the urge to preserve just hit me, haha :)

I ended up buying about 3 lbs of apricots and canning Apricots in light syrup- a first for me. I usually can peaches this way, which are amazing and probably my favorite home-canned product.

I also realized tonight that I still had some blueberries left over from my canning class this past weekend, and I decided to make Blueberry Jam! It turned into more of a Blueberry Juice for some reason- I think I might need to invest in some fresh pectin. At any rate, I canned Apricots and some type of Blueberry product.

The apricots were easy, by the way. If you're looking for a quick canning project, this is another one to try!
I did a raw pack (rather than a hot pack), which made the process especially quick. If a canning frenzy claims you, here's the recipe (from the Ball Blue Book of Canning):

Apricots in Light Syrup

Supplies needed:
a water bather canner (or a really large pot)
a rack to go inside the canning pot
canning jars- Ball and Kerr are two frequently-used brands
a set of 6 Pint-sized jar lids & bands
canning tongs to grab the hot jars                                                                                  
Between 2 and 2 1/2 lbs apricots
2 1/4 cups sugar
5 1/4 cups water
Directions:
(Raw Pack) Wash apricots. Cut in half and pit; do not peel. Treat to prevent darkening. Pack apricots, cavity side down, into hot jars, leaving 1/2 inch headspace. Make a light syrup by combining the water and the sugar together in a saucepan- heat the mixture to a boil, and stir. Once the mixture is boiling, its ready to pour over the apricots in their jars- ladle the syrup into the jars (a funnel is helpful here) and again, leave 1/2 inch headspace. Remove air bubbles (I like to use a chopstick for this purpose) and place the lids and the bands on the top of the jars, and screw on. Process 25 minutes in a boiling water canner (for pints).

Saturday, July 28, 2012

Canning 101: Blueberry Jam

The canning workshop today went really well! We covered a lot, and ran long, which I felt bad about. Overall though, interested folks got to learn how to can, and participate in the process, which I think is really important!

We also talked over techniques on freezing and drying fruits and vegetables, and everyone left with some handouts that I think will be helpful reference in the future.

As I suggested to the class participants, if you're going to can more than once, I suggest you purchase a canning recipe/instruction manual, like the Ball Blue Book of Canning. It's kind of like having a bible or religious book to reference, vs. copying some pages or passages out of said book. The passages are helpful, but if you want context and more guidance, having the actual book is really essential. Not a bad religious metaphore for a Jew(ish) agnostic, huh?  

I chose to can the Berry Jam recipe from the Ball Blue Book of Canning. It's easy, simply, and straight-forward; a good jam for beginning canners.

If you're looking for a easy recipe to start your canning adventures with, here it is:

Berry Jam
Supplies needed:
a water bather canner (or a really large pot)
a rack to go inside the canning pot
canning jars- Ball and Kerr are two frequently-used brands
a set of jar lids & bands
canning tongs to grab the hot jars
a potato masher                                                                                 

9 cups crushed berries
6  cups sugar

Directions:
Combine berries and sugar in a large saucepot. Bring slowly to a boil, stirring until sugar disolves. Cook rapidly to gelling point. As mixture thickens, stir frequently to prevent sticking. Remove from heat. Ladle hot jam into hot jars, leaving 1/4 inch of headspace. Place the lid and the band on the top of the jar, and screw on. Process 15 minutes in a boiling water canner.


Then Ta-da!! Jam.

Friday, July 27, 2012

Drying & Saving Seeds for Future Planting

Earlier in the month I posted about drying veggies and herbs in the garden for later use. In a similar vein, it's fairly easy to dry lots of different seeds for planting next year if you know how to do it!

Over the past week, I've been starting to harvest and dry seeds from Bell peppers, Cantaloupe, and Kidney and Provider bush beans. I scoop out the seeds from the veggie of choice, rinse them off gently to clear them of all that inner-vegetable juice, and then I spread them out on a kitchen towel to dry for several days.

Make sure there is enough space between each seed so they can dry properly!


When they're dry to the touch, I gather up the seeds, make sure they're separated by type, and then place them in ziploc bags or 8 oz canning jars. Then, they get labeled with a permanent marker, and I store them in the refrigerator for next year! They seem to store quite well that way- I kept pepper seeds (in a plastic bag) and dried beans (in a glass jar) in the fridge over last season and those plants did very nicely this season!

If you're growing beans now and you'd like to save some for drying, here's a tip- let them dry outdoors right on the plant! This year, I planted about 20 kidney beans and 20 provider green beans, all for saving. I just let my bean plants grow throughout the spring and summer- at a certain point they look optimal to harvest for green bean stage, and then they start to get fatter and puffier. Instead of harvesting then, I let about 3/4ths of my crop dry, cutting back on the water I give the plants and eventually not watering them at all.


When the bean pods are beige-white and quite dry to the touch (if you shake them, you should hear rattling inside), they're ready to harvest! Pull the pods from the plant, and you'll have a pile of dried bean pods, like the picture to the left.

Yesterday, I spent 20 relaxing minutes cracking open each pod, and collecting the 2 -5 beans that lay within each one. I ended up with about 100 kidney beans! It's not enough to store as beans for much of anything- really it would only be enough for 1 or 2 winter batches of chilli.

What I'm going to do instead is just save all the kidney beans, as I did last year. Next year, I'll plant all 100 of them in the garden, and have a really big harvest, enough to save as dried beans for future use!


Have you dried and saved any seeds from your garden?  


If so, what was the easiest to save or the most successful plant the next season?

Thursday, July 12, 2012

Drying and Curing Veggies & Herbs from the Garden


There's lots of things growing in your garden right now (or waiting for you at the Farmers' Market) that you can dry and essentially preserve for use later on in the season. I personally think that is one of the most awesome aspects of growing your own- the ability to have a Winter's supply of some great thing you worked hard to grow! I know, I know- I'm a nerd. While I won't cover all of them in detail, and this isn't an exhaustive list, there's a lot to be saved from the garden come late summer/fall time!

Produce/Herbs that you can Store by Drying:
Almost any herb
Beans
Chamomile blossoms
Cilantro (into Coriander)
Garlic
Onions
Potatoes
Squash


Cilantro

When to Harvest:
You can simply let the plant flower. Little white flower clusters will form, which will soon form seeds. At first, these seeds will be green but then they will slowly dry from green to brown, then they will harden. 

How to Cure/Dry:
The nice thing about cilantro is it's very low-maintenance to dry. When the seeds are dry, you can just pull the whole plant out by the roots, and harvest the seeds from it. 

Long-term Storage:
Put seeds in a glass spice jar or air-tight plastic container. Grind into a powder as needed, and use in asian dishes (or any dishes, for that matter!)

Chamomile

When to Harvest:
The chamomile plant will produce little white flowers with yellow centers- they look sort of like daisies. Plants bloom in mid June-late July. When the petals begin to droop down, time to harvest! Pluck off the individual flower heads and new ones will grow.
How to Cure/Dry:
Spread flowers across on a dry surface in a warm, dry area for 72 hours.

Long-term Storage:
Store in a glass jar, a tin, or an air-tight plastic container. Put a tablespoon of blossoms into a tea bag for chamomile tea any time you desire!

Garlic
When to Harvest:
Garlic plants have corn-like stalks. When stalks start to turn yellow-brown with 5-6 green stalks remaining, it's time to harvest. Grab each plant firmly, near the base of where the plant meets the ground and pull.

How to Cure/Dry:
Garlic needs to cure (dry out) for a week + before it is stored permanently. If you don't have pest problems, harvest your garlic and simply lay it on top of the soil to dry, on your porch, or bring it in and lay it out in your mudroom.

Long-term Storage:
Once the stalks are completely brown and feel like parchment paper, you can cut them down to several inches in length. Garlic needs good air circulation in order to store well. I recommend a wicker basket, or if you only have a few heads of garlic, one of those ceramic garlic containers.


Onions
When to Harvest:
You can harvest onions then the tops/stalks have start to brown and droop towards the ground. (Or if you're impatient, whenever you want, as demonstrated in the picture) The longer you can be patient, the larger the bulbs will be. If you harvest them too early, just use them as a bulb and a green onion too!

How to Cure/Dry:
Lay onions flat out on paper or some other type of dry surface. Onions are like garlic in that they need to cure for several days for optimal storage.

Long-term Storage:
Again, like garlic, onions need good air circulation to prevent them from rotting during storage. A hanging wicker or mesh bag could work well for storage.

Best of luck as you try out some drying/curing at your own home.
I hope the tips are helpful!

Tuesday, June 26, 2012

Preserving Fruit- Canning Raspberry Jam

I almost can't believe it, but this summer is my 4th year canning- whoa.

My knowledge on canning has definitely grown since that first summer canning in my sweltering kitchen in the apartment overlooking Michigan Ave in downtown Ypsi. Since then, I've got my own canning supplies, tried my hand at pressure canning, added freezing and dehydrating to my preservation "tool kit", and even taught a few canning classes!

There's several particularly satisfying things about canning; I enjoy the time spent during the process, working with the fruit or veggie or medium of choice. Canning allows me to really focus on that product and feel like I'm truly appreciating it.

Also, as I so articulately said it 3 years ago (ha ha- first blog post ever!), canning makes me feel like a "settler", or a pioneer of sorts. What I mean by that is the feeling of connection to the seasons, to the history of canning and preserving of those that canned before me in my family. Most would say that in 2012, we don't "need" to can at home in order to survive. While I think that's true to a point, canning helps me to live a more season-oriented lifestyle, and to save costs on food year round- not only through gardening in the summer.

The Farmers' Market was overwhelming today, in the best sense possible. There were lots of "new" things to the market this week- firsts for the season. Peaches, blueberries, potatoes, as well as more raspberries and strawberries. I couldn't even let myself look at the peaches- too tempting to buy 6 quarts and go to town canning them up.

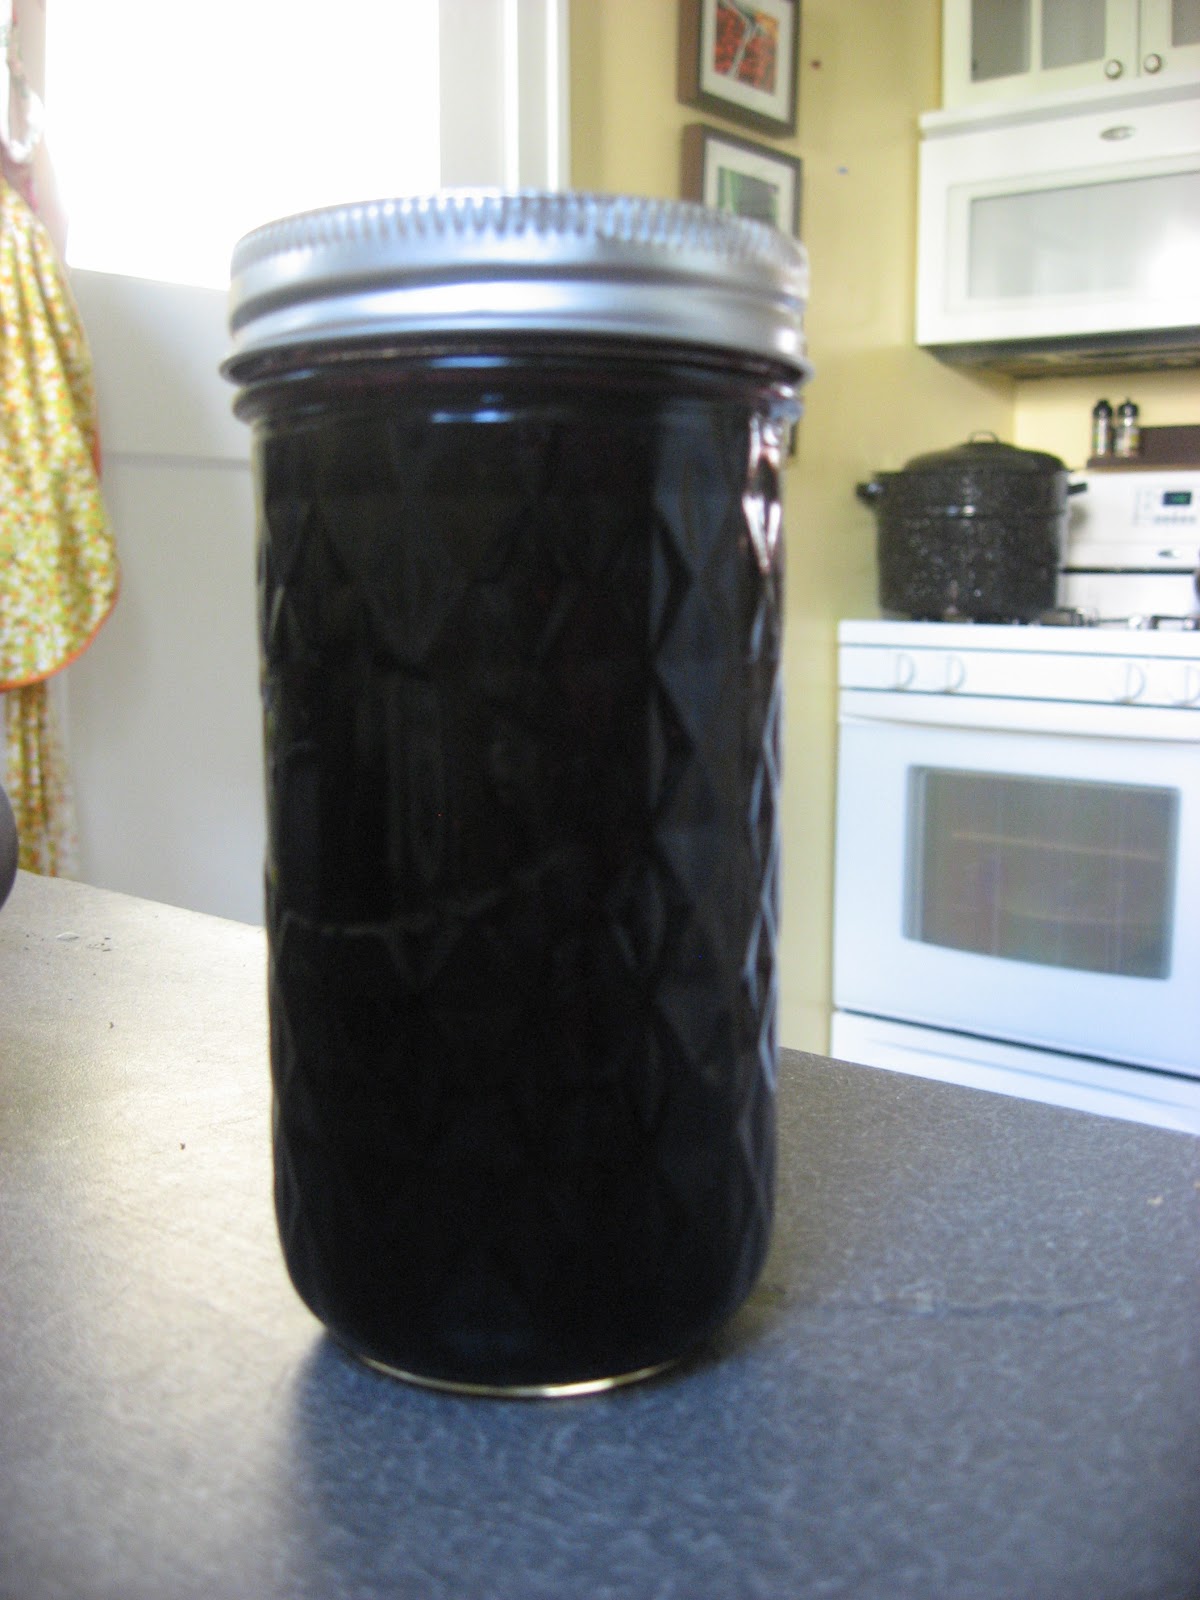
I picked 3 pints of blueberries and freeze those. I also got 2 pints of raspberries, and I was going to freeze them, but upon getting them home realized that they were melting into a messy blob.  When you're faced with such a blob, you make jam.

I didn't realize how much I missed canning until I got my first taste of it for the season today! Only 1 pint and 1 half pint of jam done today, but that's ok- there will be more to come. Lots, lots more!


Have you canned yet this summer? If so, what did you make?

Tuesday, June 19, 2012

Preserving Fruit- Freezing Strawberries


Didn't make it out to pick your own strawberries like you hoped to this June? That doesn't have to stop you from freezing some strawberries for future use in those cold, berry-less months! Pies, smoothies... mmm.

I too meant to get out and pick a whole bunch of strawberries- I had glorious canning plans in mind for Strawberry Basil jam and some other amazing goodies, but alas, my schedule just did not permit a picking trip!

Luckily when I was in Columbus this weekend visiting the fam, I was able to stop by a farm stand and purchase 4 quarts of strawberries grown in Circleville, Ohio.

Because they're a few days old, I decided to freeze these berries, rather than canning them- I was worried I'd run out of time again and end up with gross rotted berries, which is definitely not an effective preservation method in my book.

If you've never frozen fruit at home, it's a breeze! All you need is strawberries, a flat freezable surface (lid, glass baking jar, etc.), a paring knife, and some plastic bags for storage.

Simple steps to freezing Strawberries:

1) Rinse berries well, esp. if commercially-grown
2) Using a small paring knife, cut tops off of berries. Set aside overly-brusied or rotten berries. Cut larger berries into halves or quarters
3) Spread cut berries onto a flat surface, and freeze for 30 minutes per tray
4) Once initial freezing is complete, pour berries into a freezer bag
5) Lay freezer bag flat and spread out berries evenly in bag. Set bag flat in the freezer to fully freeze
6) Once frozen, you can stack multiple bags of berries, or arrange any way you like in the freezer

Not too tough, huh? :)

Now you've preserved a sweet taste of summer!

Saturday, April 21, 2012

Strawberry Jam Smoothies

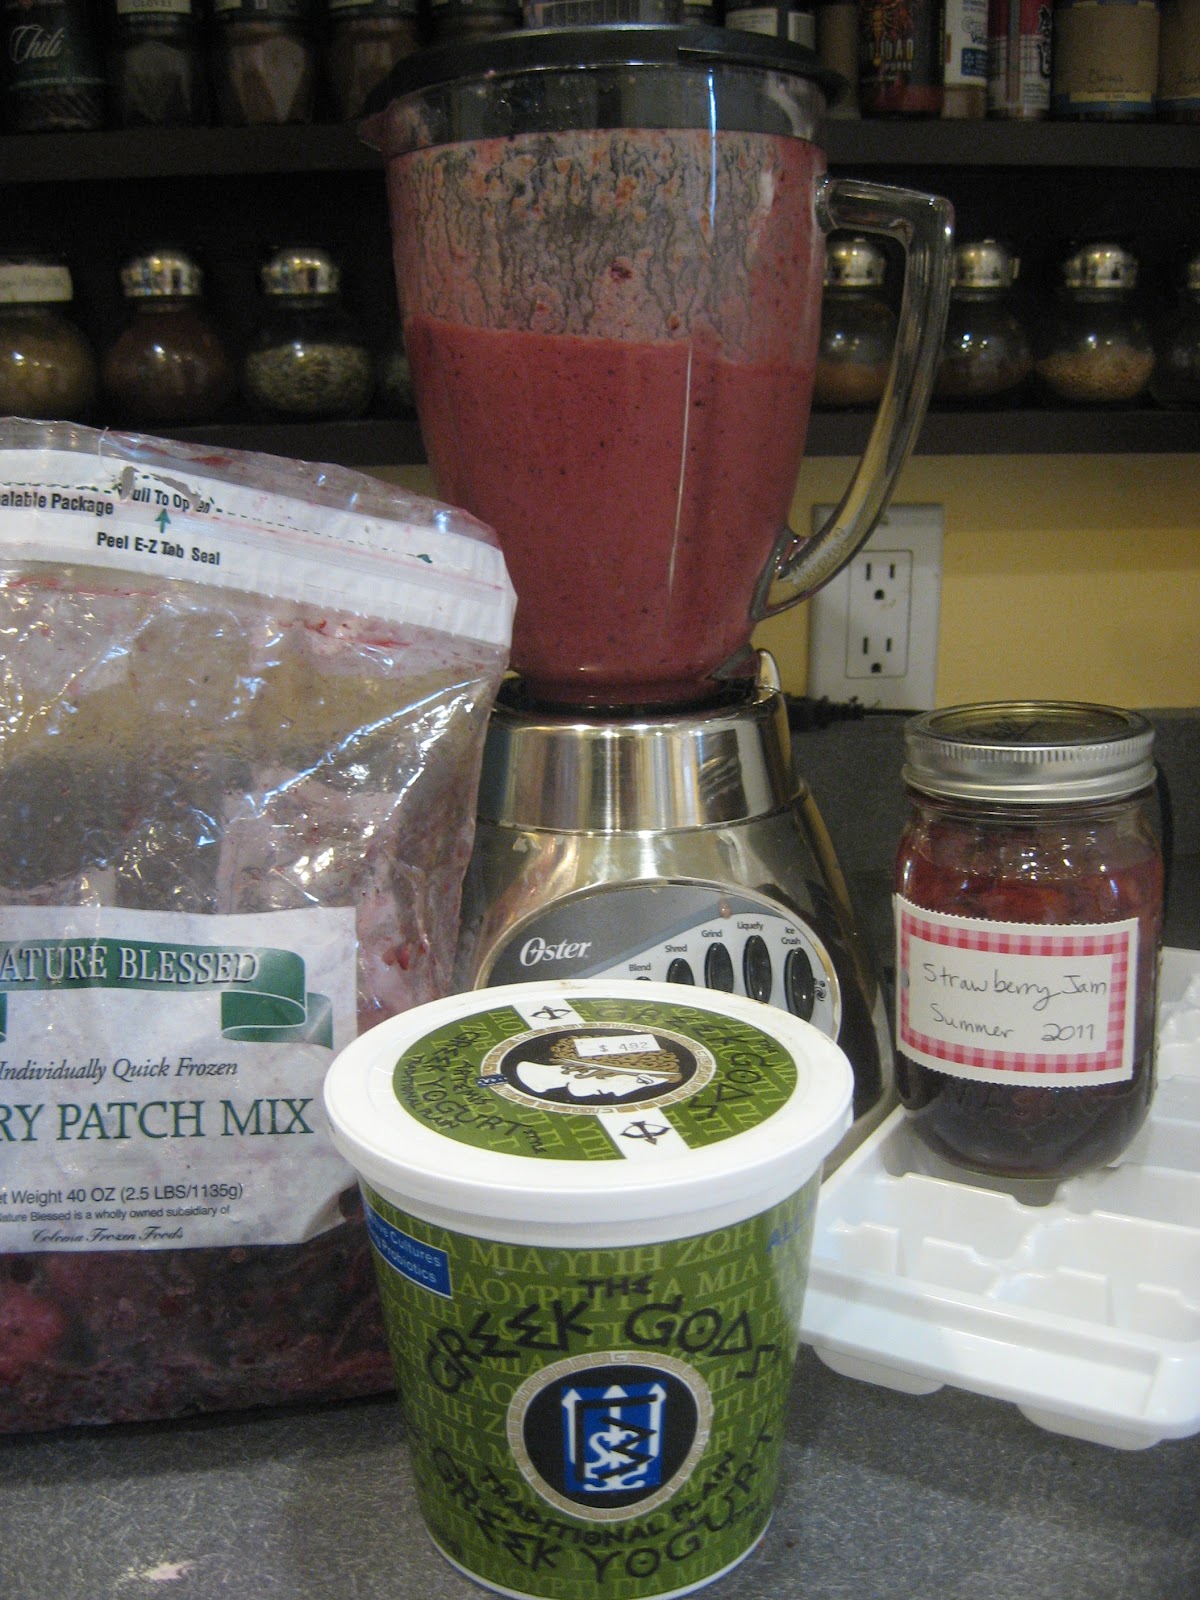
Smoothies are pretty much the perfect breakfast- any time of year! My ability to make smoothies year-round depends greatly on how ambitious of a canner I've been the past summer and what kind of frozen, local fruit I can get my hands on.
I accidentally discovered Jam Smoothies when I was trying to fix a blender problem- when making smoothies in the past, I'd add yogurt and ice first. The ice wouldn't crush quickly or easily because it would get all clogged up at the bottom of the blender.

I had several jars of strawberry jam from last season that hadn't set right- they are more "strawberry puree"- so I tossed some into the blender with the ice and yogurt. Voila! Enough of a liquid base that the ice broke down much more easily, and the strawberry "jam" added a hint of sweetness to my drink! If you're not a canner with unset jam, you should probably substitute strawberry puree for your smoothie instead.

                                                                                                                        "Jam" Smoothies

Ingredients: 1 pint Jam of your choice/or fruit puree
1.5 cups Frozen Mixed Berries
1 cup plain greek yogurt
6 ice cubes

Directions: 
  • Add the yogurt, the jam, and the ice cubes into the blender. Set the blender to "ice crush" and then blend until ice is incorperated into smoothie mixture. The liquid from the yogurt and jam will help you blend the ice down without having to manually un-jam (haha) the blended several times
  • Now add the Frozen Mixed Berries! Blend to your liking
Serve and Enjoy!


Wednesday, July 27, 2011

Late Summer Project #1

I have lately been falling in love with the idea of a trash can root cellar. It's a funny thing to fall in love with, huh? Since I've started to grow my own carrots, potatoes, and onions, I've been thinking about how to store them through the winter. My basement isn't cool enough in the winter to keep the veggies at the temp they need to be, and I don't have one of those awesome, old-fashioned root cellars. I've looked and done some research about building your own outdoor root cellar, which seems awesome but like a lot of work that I don't have time or money to do right now. I did find a easy, do-able, cheap, and cute (of course a major factor haha) method from Mother Earth News, here.


Cute!
Basically, it details the process of making a miniature root cellar:
  1. Purchase a 5- gallon bucket
  2. Cut the bottom from the bucket
  3. Dig a hole in the ground just big enough to hold the bucket with the top of it flush with the ground
  4. Fill the bucket with carrots (or onions, potatoes, turnips, etc)
  5. Place the lid on the bucket and place a bale of straw on top for insulation
5-gallon buckets seem like a great size too, because a whole standard-sized trash can seems like a lot! Also, what if I want a carrot and two potatoes and I've put all my storage crop into one trash can? Would I just reach my hand down through the levels o' veggies? Seems like having separate 5-gallons for each type is more practical for usage throughout the winter. Stay tuned for 'implementation phase' :)